Sign In and Accounts
This page tells you how to get into the driver app. A driver usually gets an email invitation first. Refer to Team Members and Drivers.
Sign in
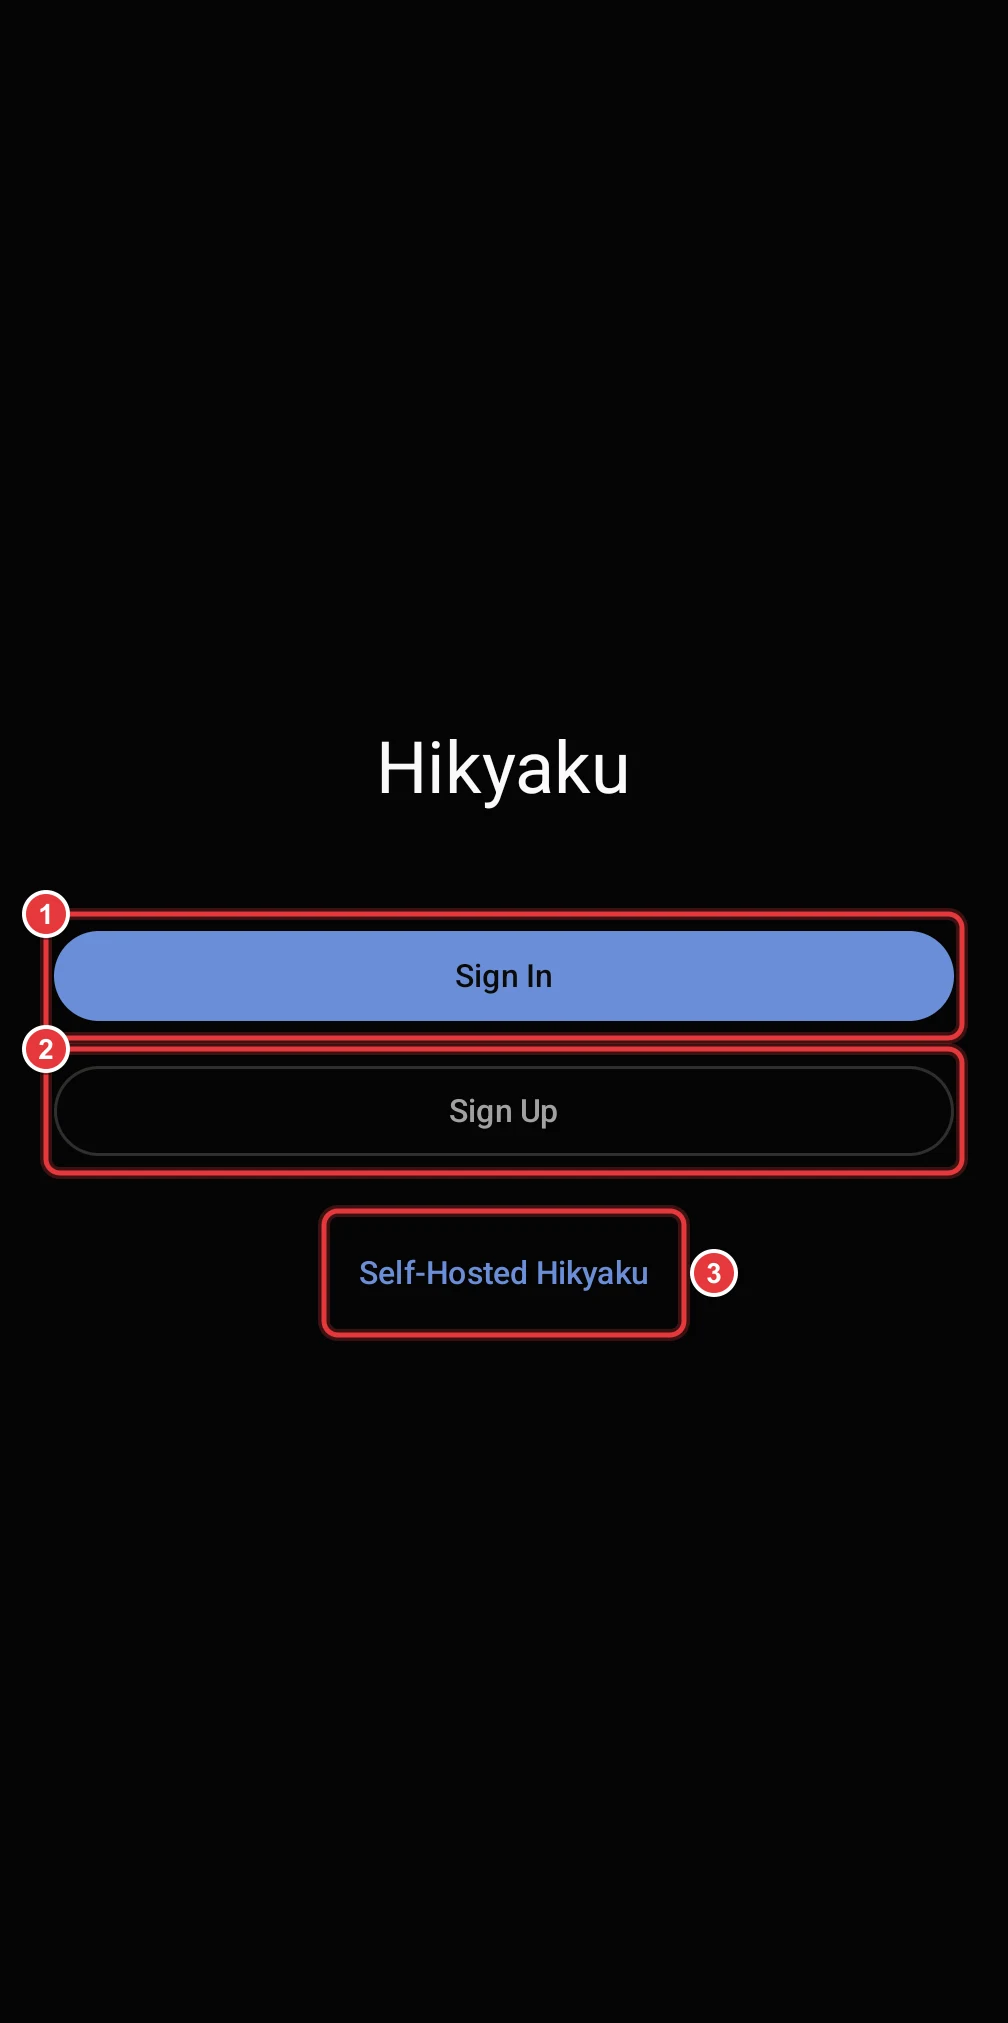
- Tap Sign In if you have an account.
- Tap Sign Up to make a new account.
- Tap Self-Hosted Hikyaku to connect to a different Hikyaku instance. Refer to Connect to a self-hosted instance.
When the instance has Google sign-in, the Welcome screen also shows Continue with Google.
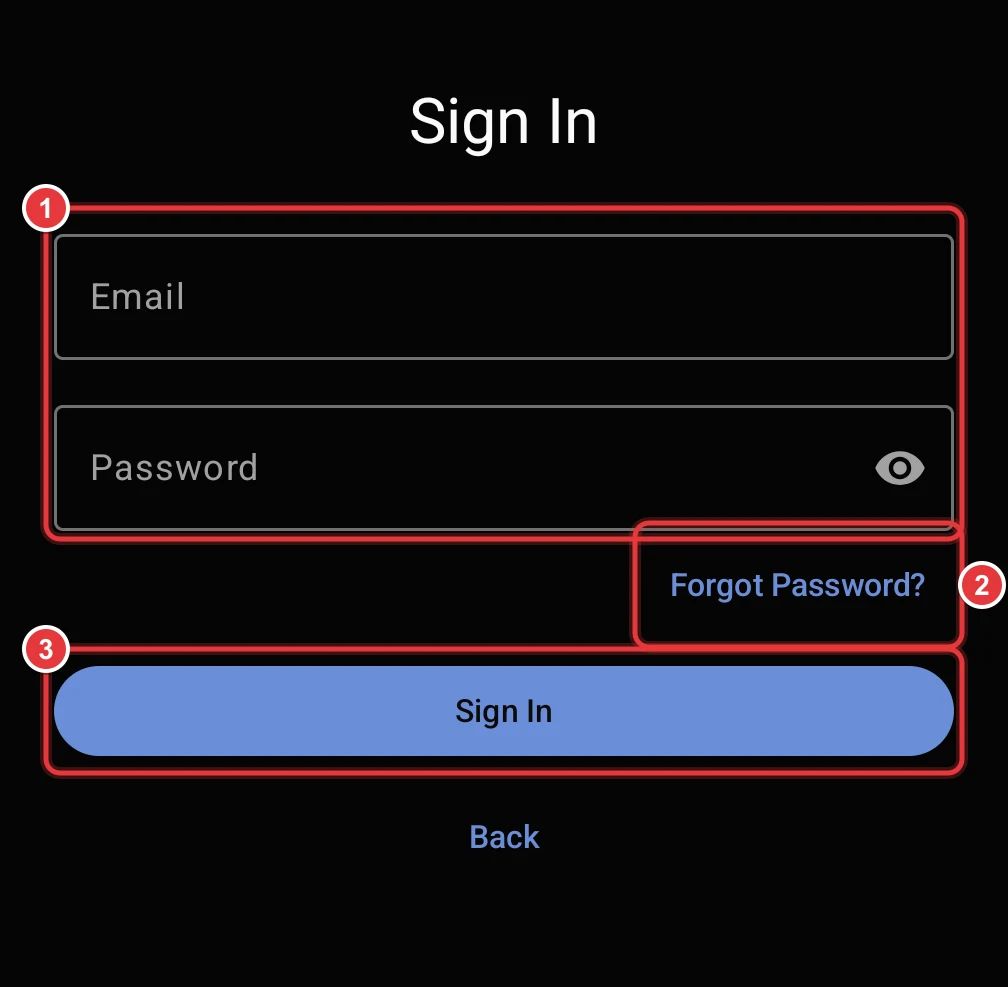
- Type your email and your password. Tap the eye icon to show the password.
- If you do not know your password, type your email and tap Forgot Password?. Hikyaku sends a 6-digit code to your email. Type the code, then set a new password.
- Tap Sign In.
The app keeps you signed in. If Android stops the app during a shift, the app opens the same shift again when you open it.
Make an account
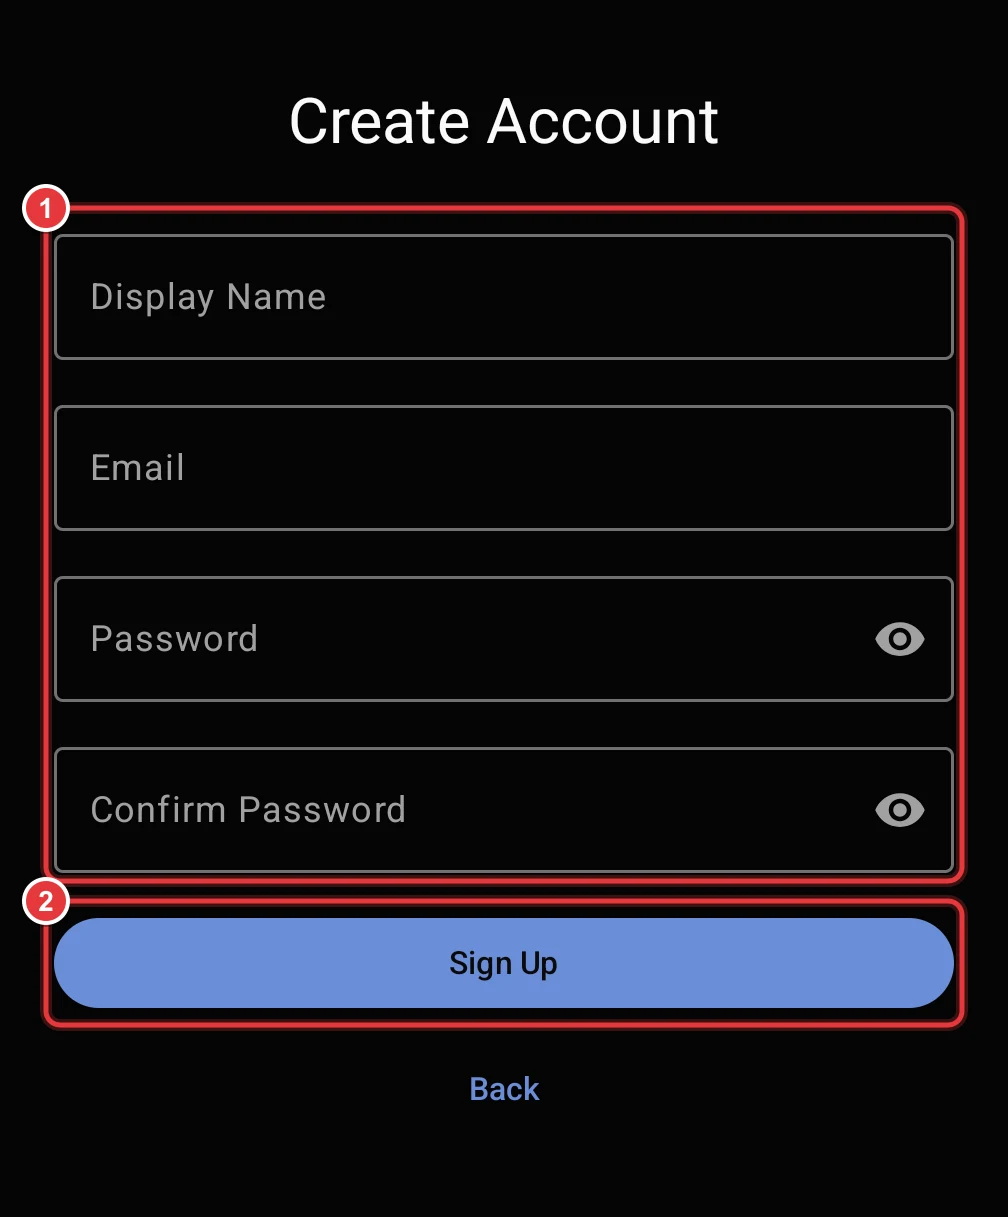
- Type your display name, your email and a password. The password must have 6 characters or more. Type the password again to confirm it.
- Tap Sign Up.
Hikyaku sends a 6-digit confirmation code to your email. Type the code and tap Verify. If the code does not arrive, tap Resend code.
A new account gets a Personal organisation. Use it if you are an owner-driver. A personal organisation can have one warehouse. When you add a vehicle to it, the app makes you the driver of that vehicle. Hikyaku can then put packages on your shifts.
Accept a team invitation
When a manager invites you to an organisation, the app shows Team invitations after you sign in. Each invitation shows the organisation and your role.
- Tap Accept to join the organisation.
- Tap Decline to refuse the invitation.
You must verify your email before you can accept an invitation.
Connect to a self-hosted instance
Use this procedure only if your company runs its own Hikyaku. Drivers on the hosted Hikyaku do not need it.
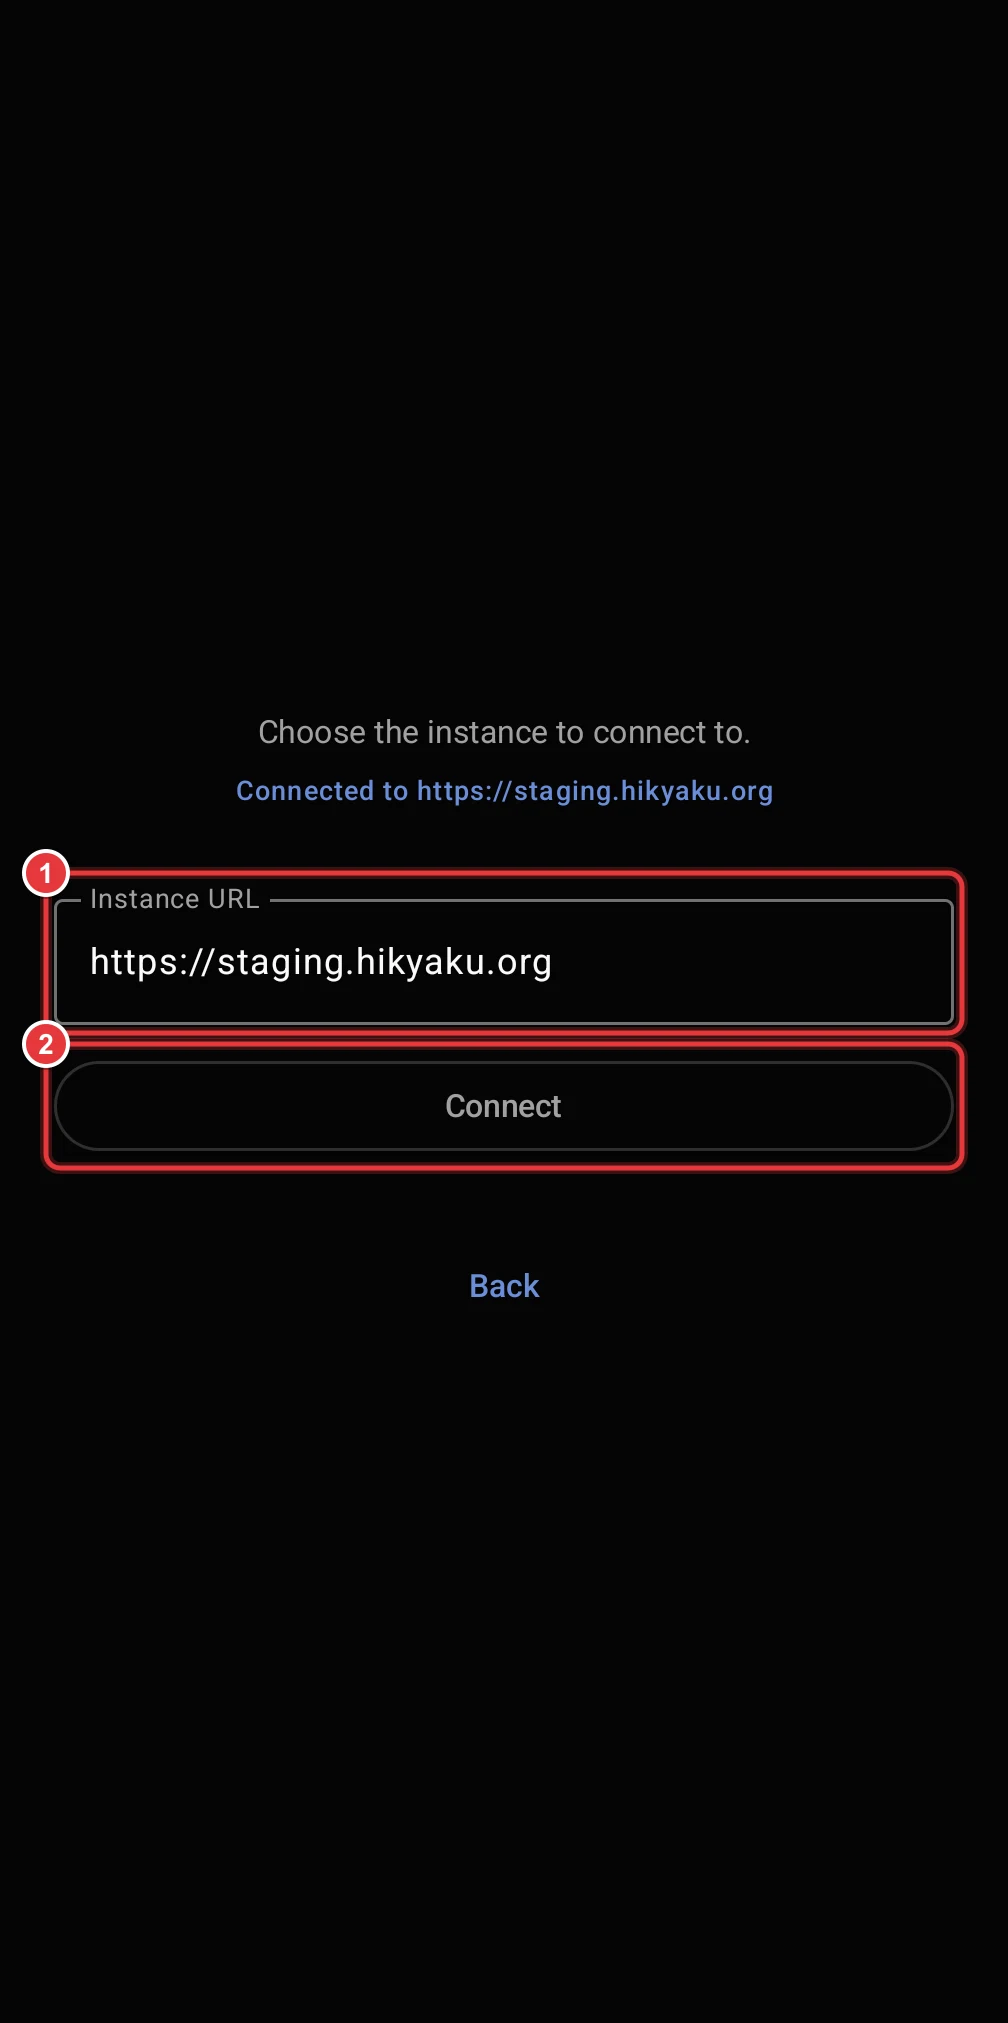
- In Instance URL, type the URL of the web frontend of your Hikyaku, for example
https://hikyaku.example.com. The URL must start withhttps://. - Tap Connect.
The app gets its configuration from that URL. The screen then shows Connected to and the URL. For more information, refer to Mobile Setup.