Settings
The Settings page holds the options for your own account and for your organisation.
Open Settings
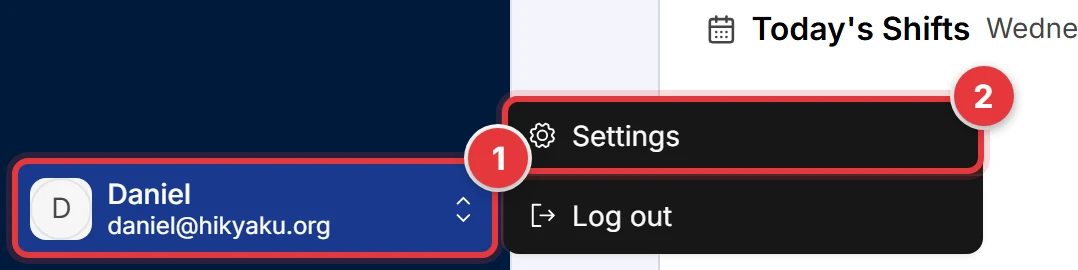
- At the bottom of the sidebar, click your name.
- Click Settings.
The Settings page has five tabs: Account, Billing, Business Information, Driving Limits and Connected Apps.
Account
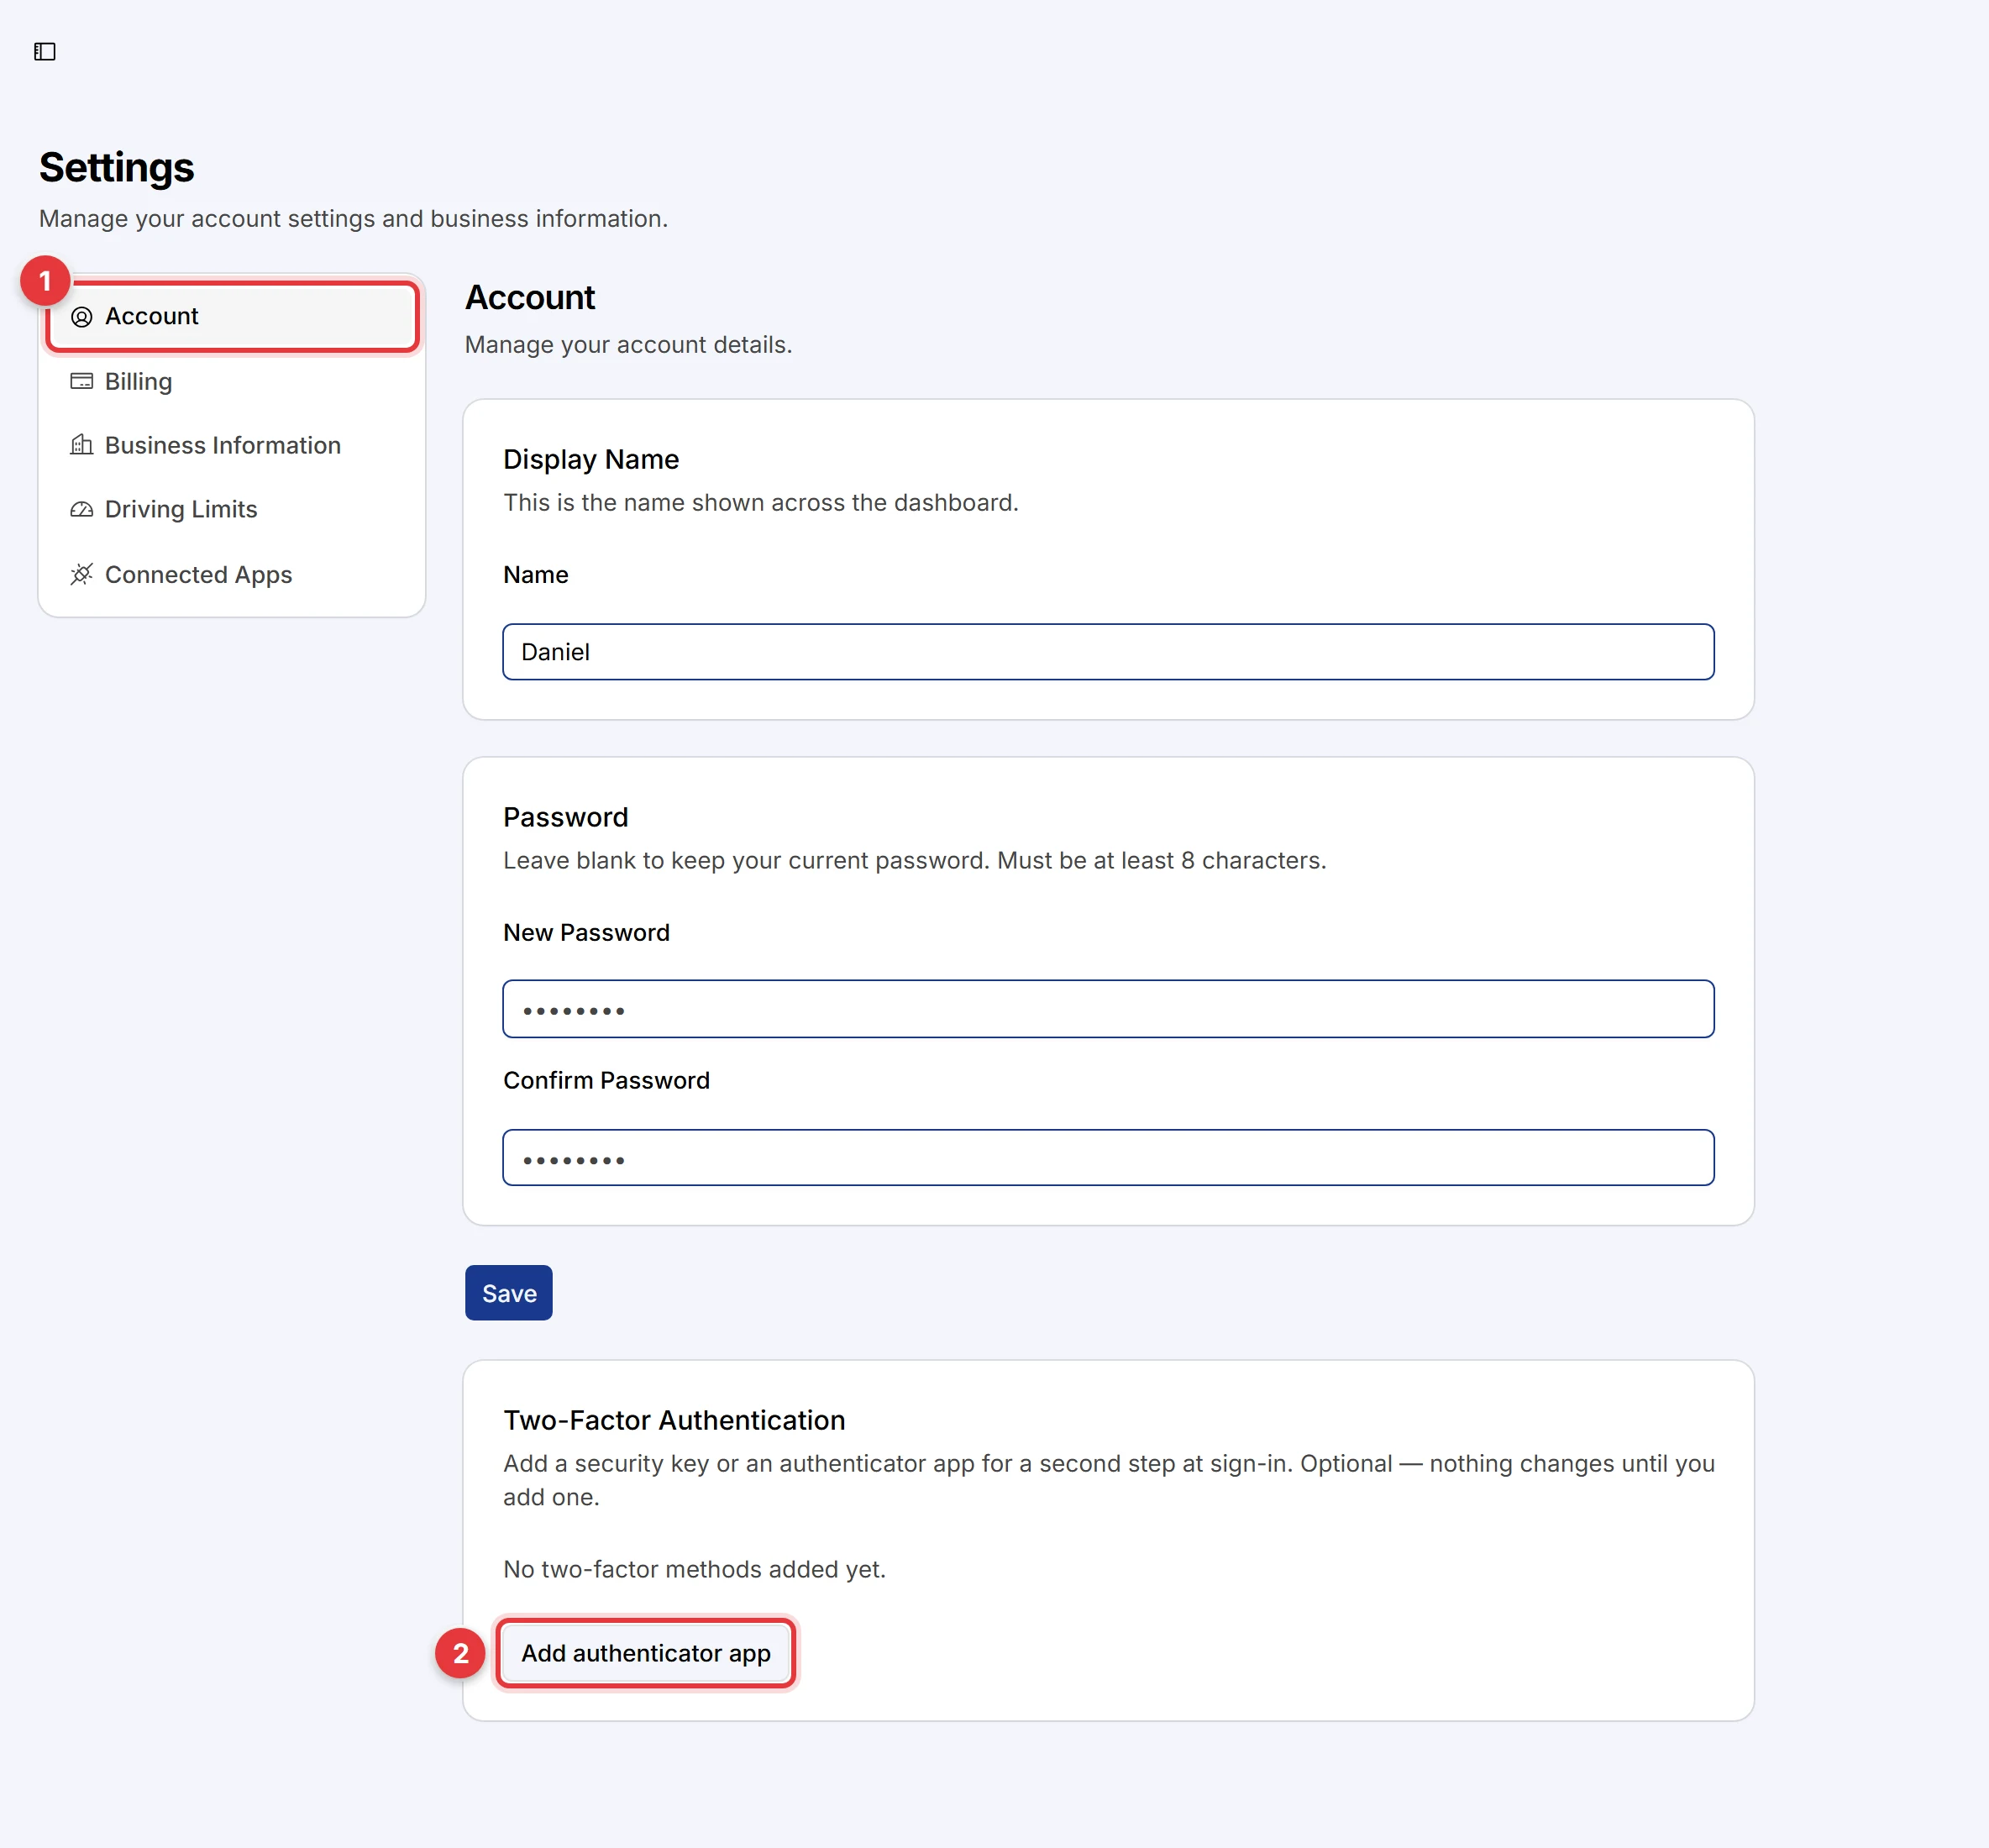
- Click the Account tab.
- Optional: set up two-factor authentication (2FA).
On this tab you can:
- Change your Display Name. The dashboard shows this name to your team.
- Change your password. Type the new password two times, then click Save. The password must have 8 characters or more. Leave the fields empty to keep your current password.
- Add a second sign-in step. Click Add authenticator app to use a code from an app on your phone. If your administrator enabled security keys, you can also click Add security key.
Two-factor authentication is optional. Your sign-in does not change until you add a method.
Billing
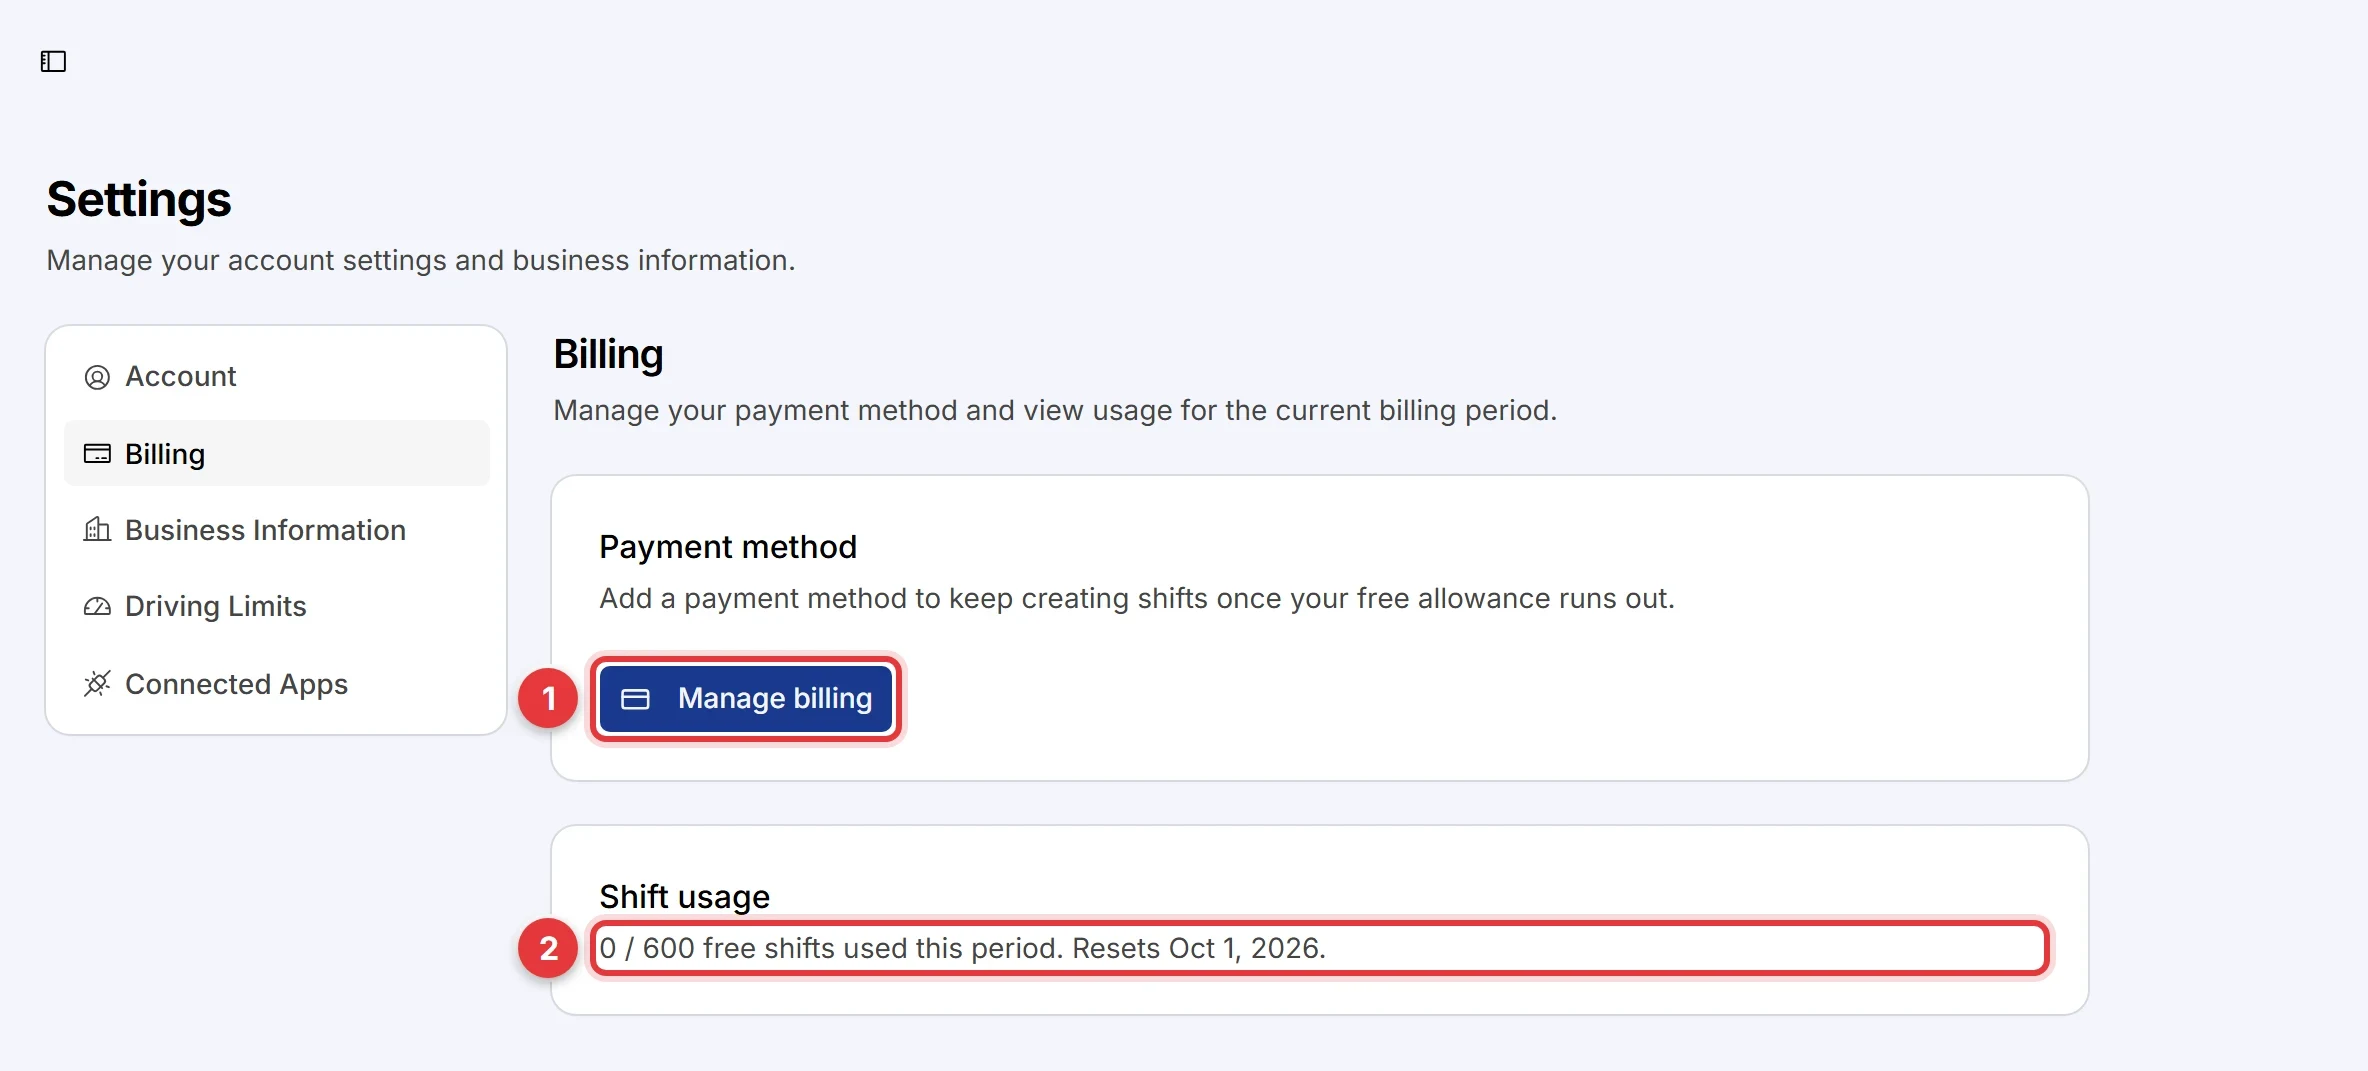
- Click Manage billing to add or change a payment method. Hikyaku opens the Stripe customer portal.
- Read Shift usage to see how many shifts your organisation used in this period.
Each organisation has a free allowance of shifts in each billing period. When your organisation uses all the free shifts, you must add a payment method to make more shifts. The usage count resets at the start of each period.
Business Information
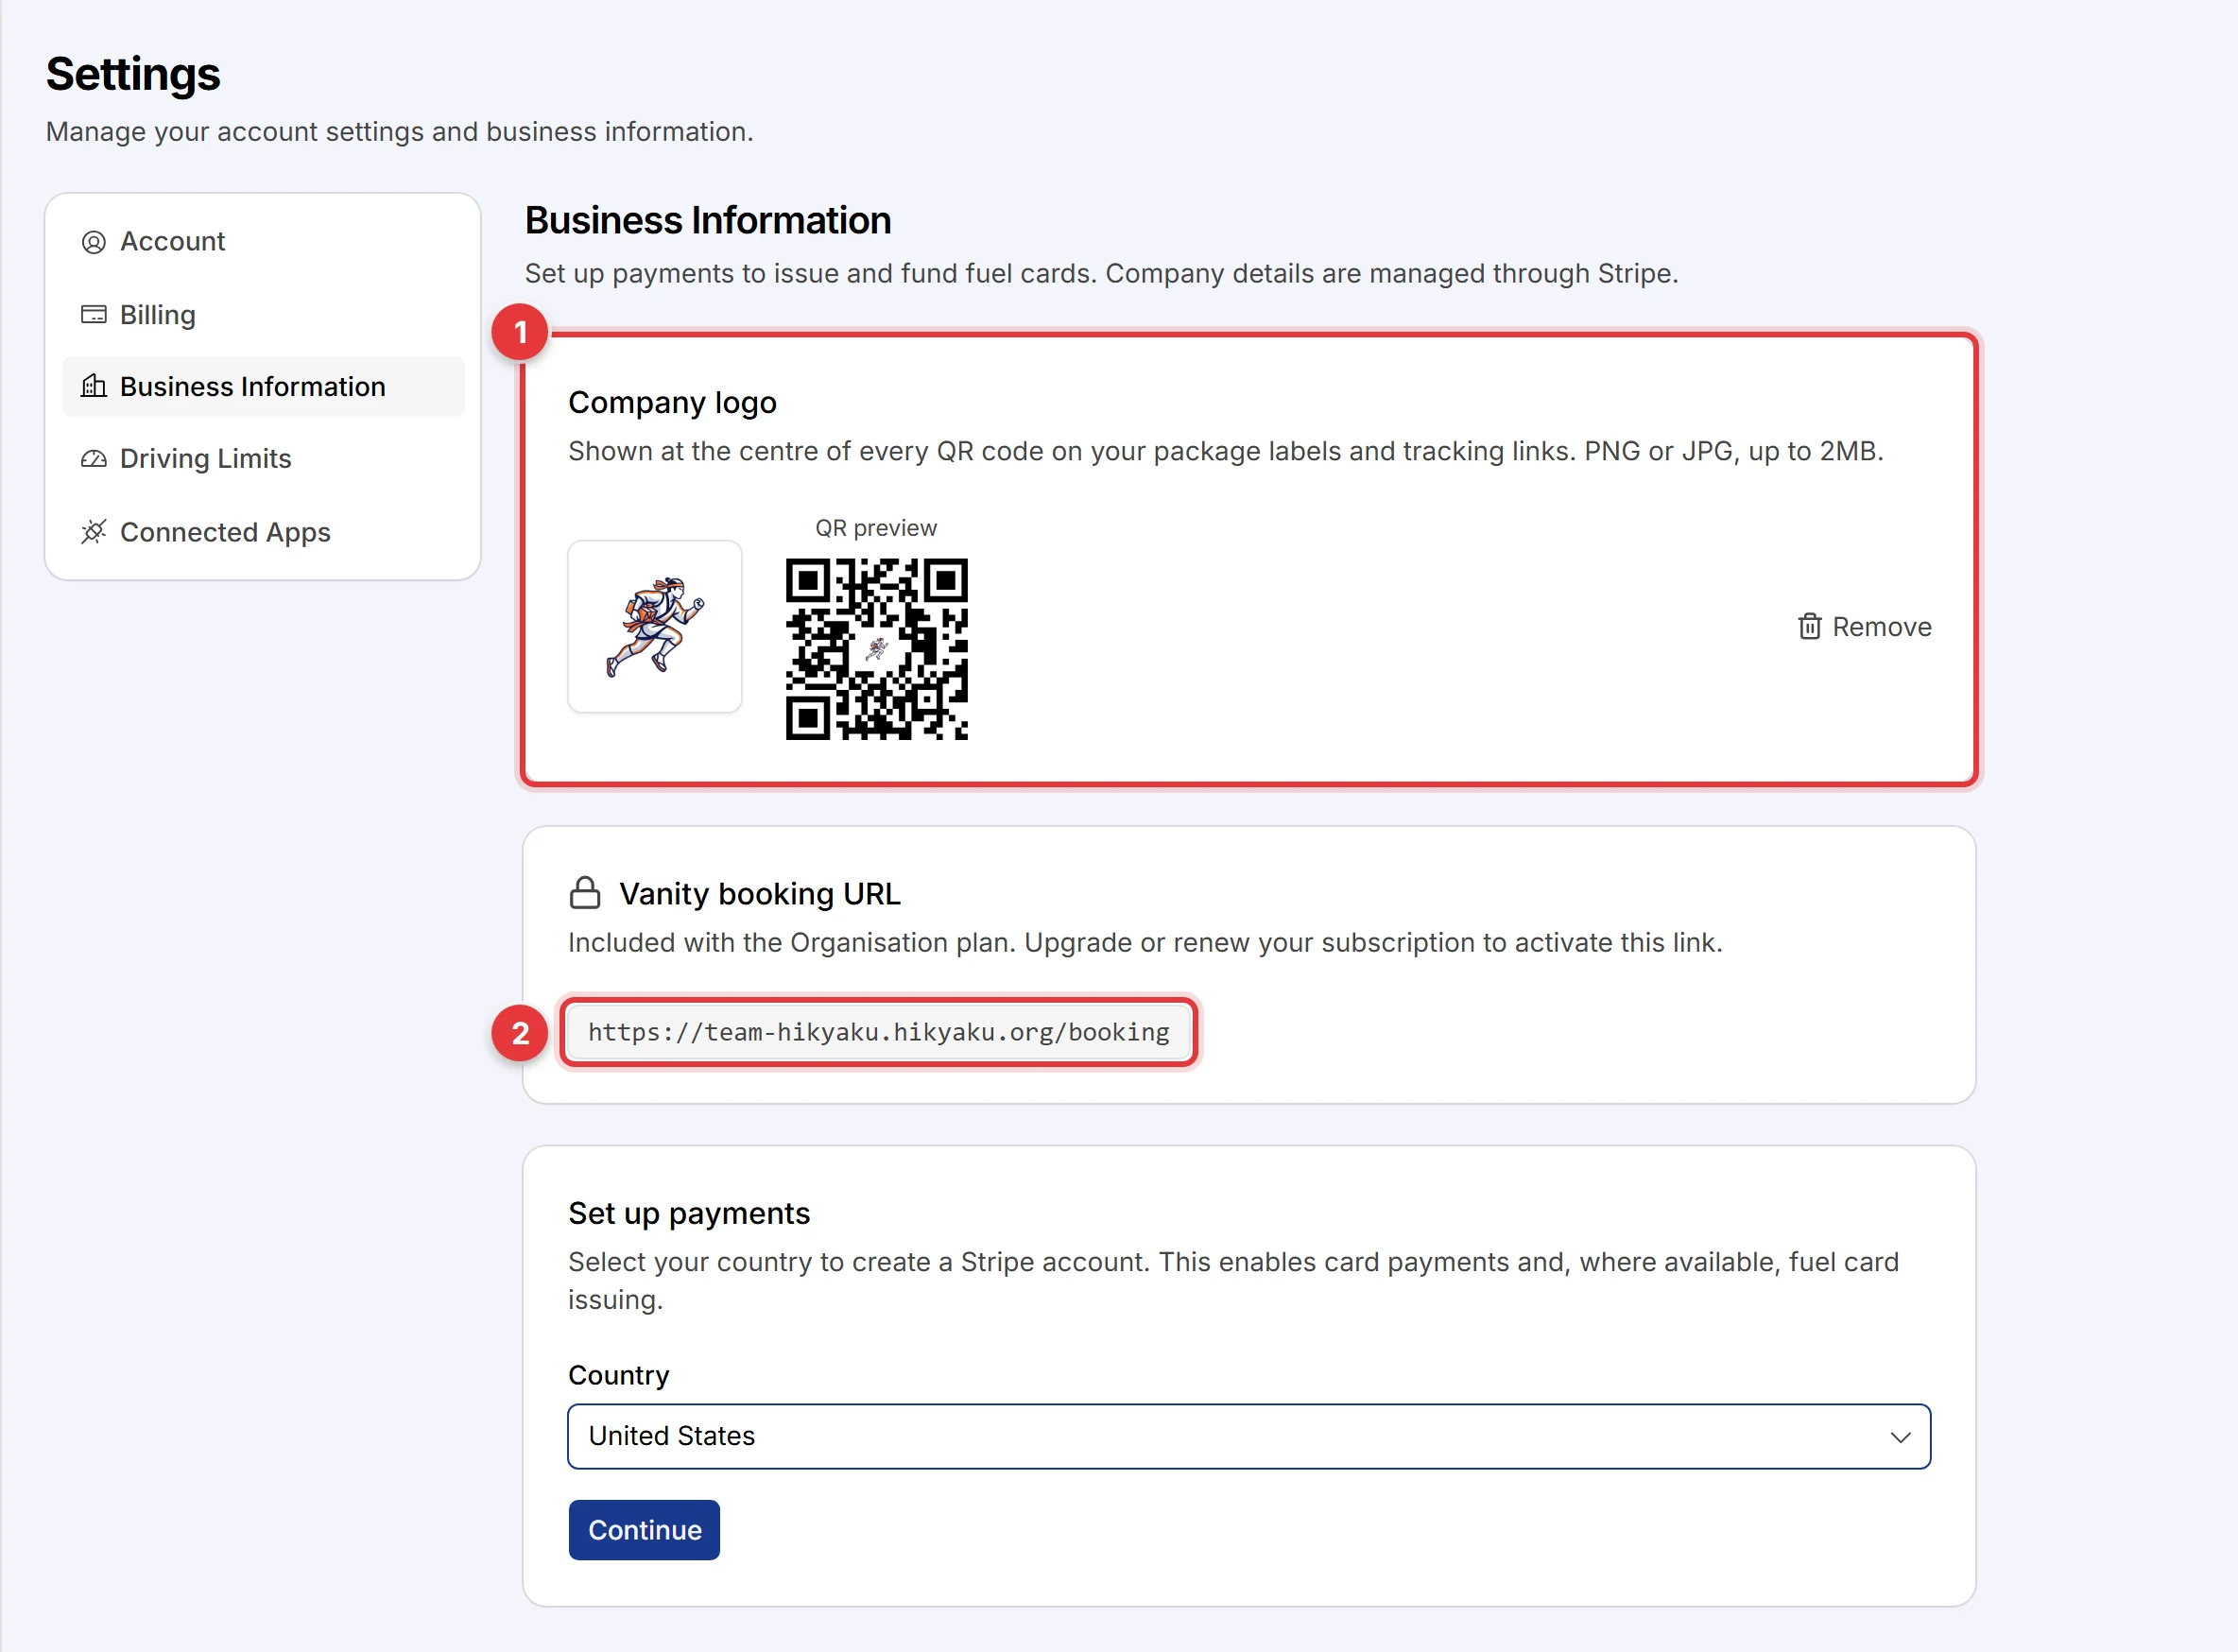
- Company logo: upload a PNG or JPG file of 2 MB or less. Hikyaku puts the logo at the centre of each QR code on your package labels and tracking links. The QR preview shows the result.
- Vanity booking URL: the address of your customer booking page, for example
https://team-hikyaku.hikyaku.org/booking. This URL is part of the Organisation plan. If your plan does not include it, the card shows a lock icon.
Set up payments connects your organisation to Stripe. Select your country and click Continue. Stripe then asks for your company details. You must set up payments before you can:
- Take card payments on the booking page.
- Sell services and add-ons at booking. Refer to Service rates.
- Issue fuel cards to drivers, where Stripe supports card issuing. Refer to Fuel cards.
Driving Limits
This tab sets the organisation default driving limit profile. Hikyaku plans the shifts of each driver who has no profile of their own within the default profile.
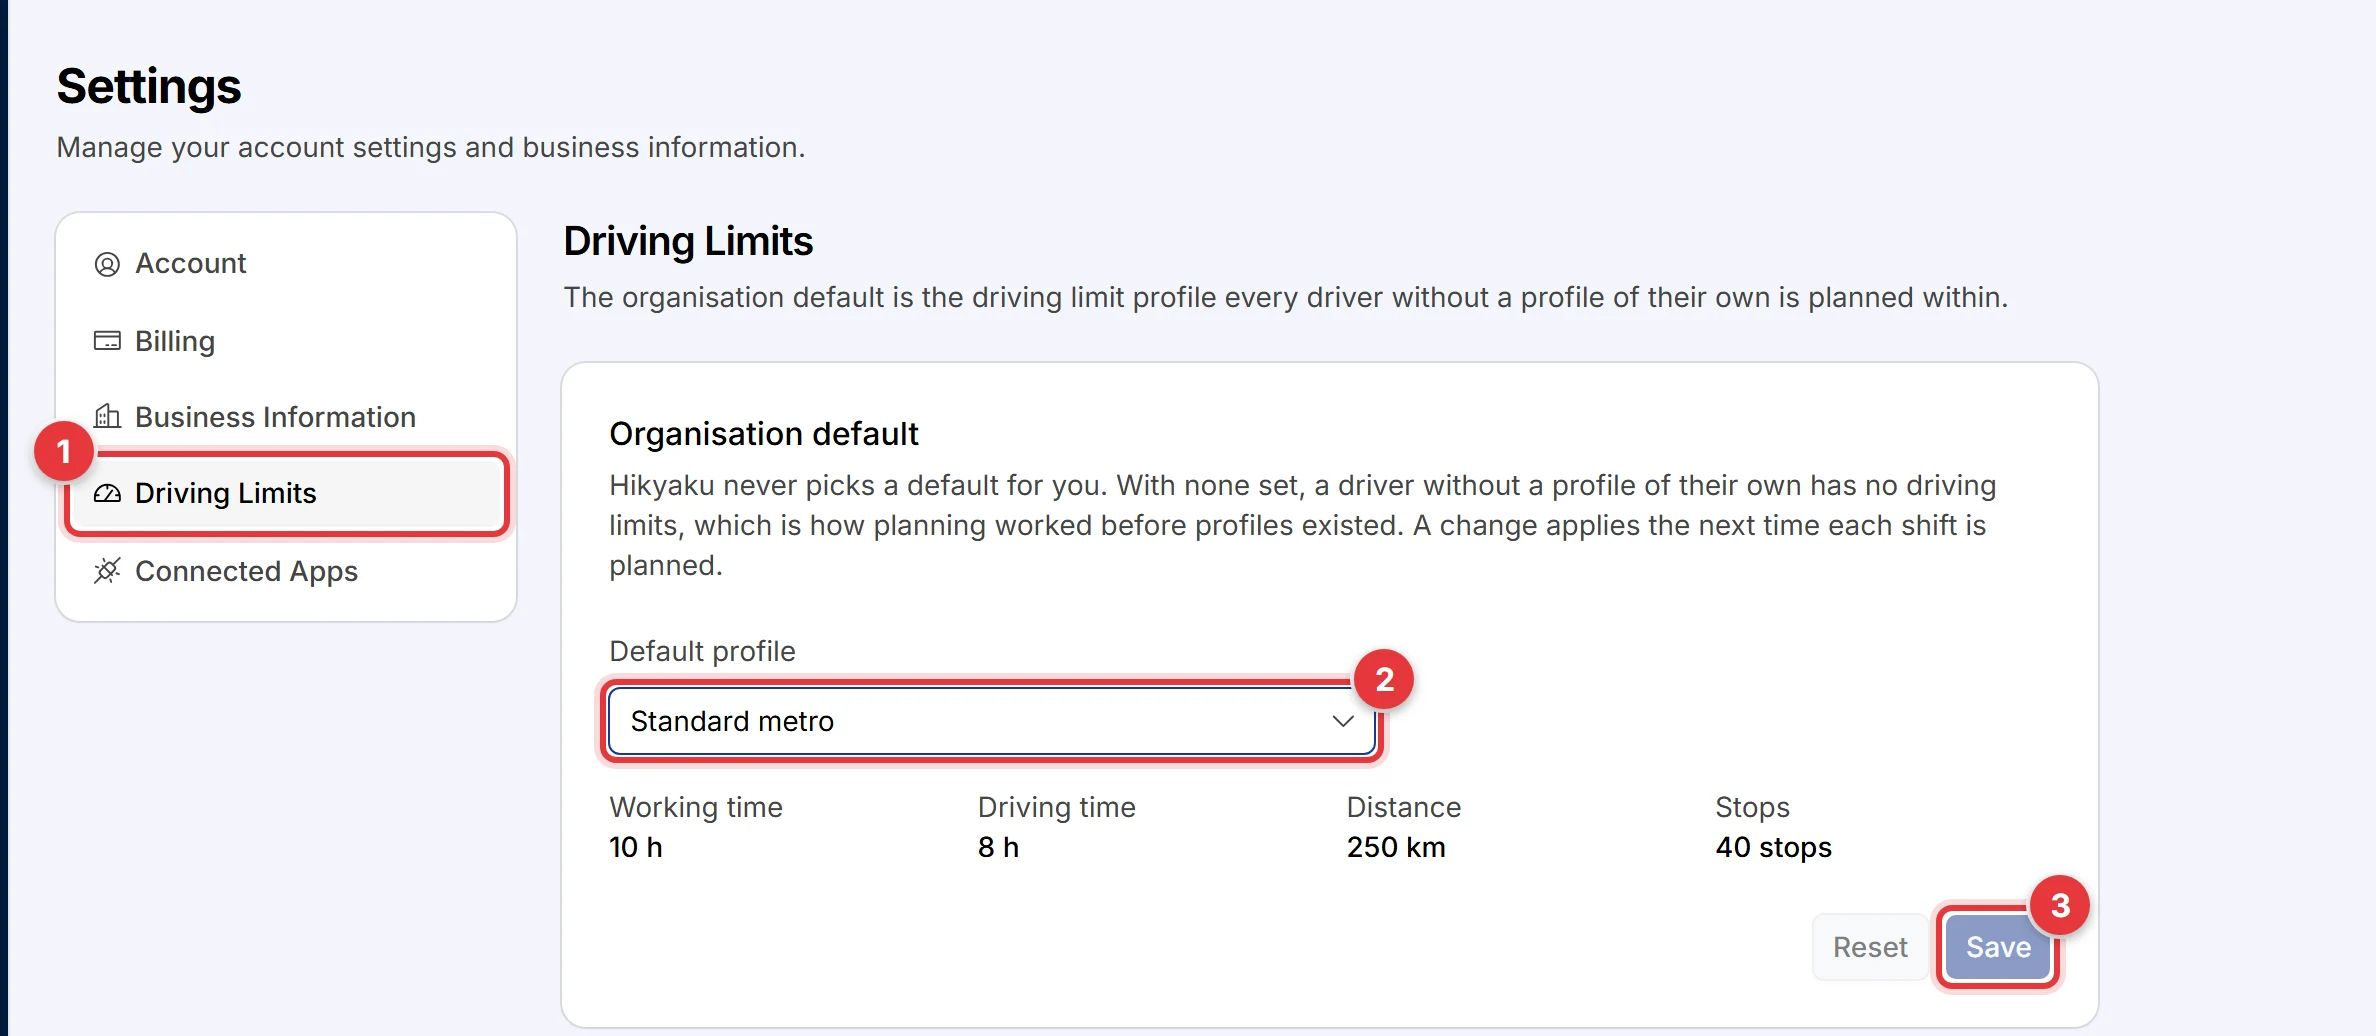
- Click the Driving Limits tab.
- In Default profile, select a profile. The card shows the four limits of the profile.
- Click Save.
Hikyaku does not select a default for you. With no default, a driver without a profile has no driving limits. For more information, refer to Driving Limits.
Connected Apps
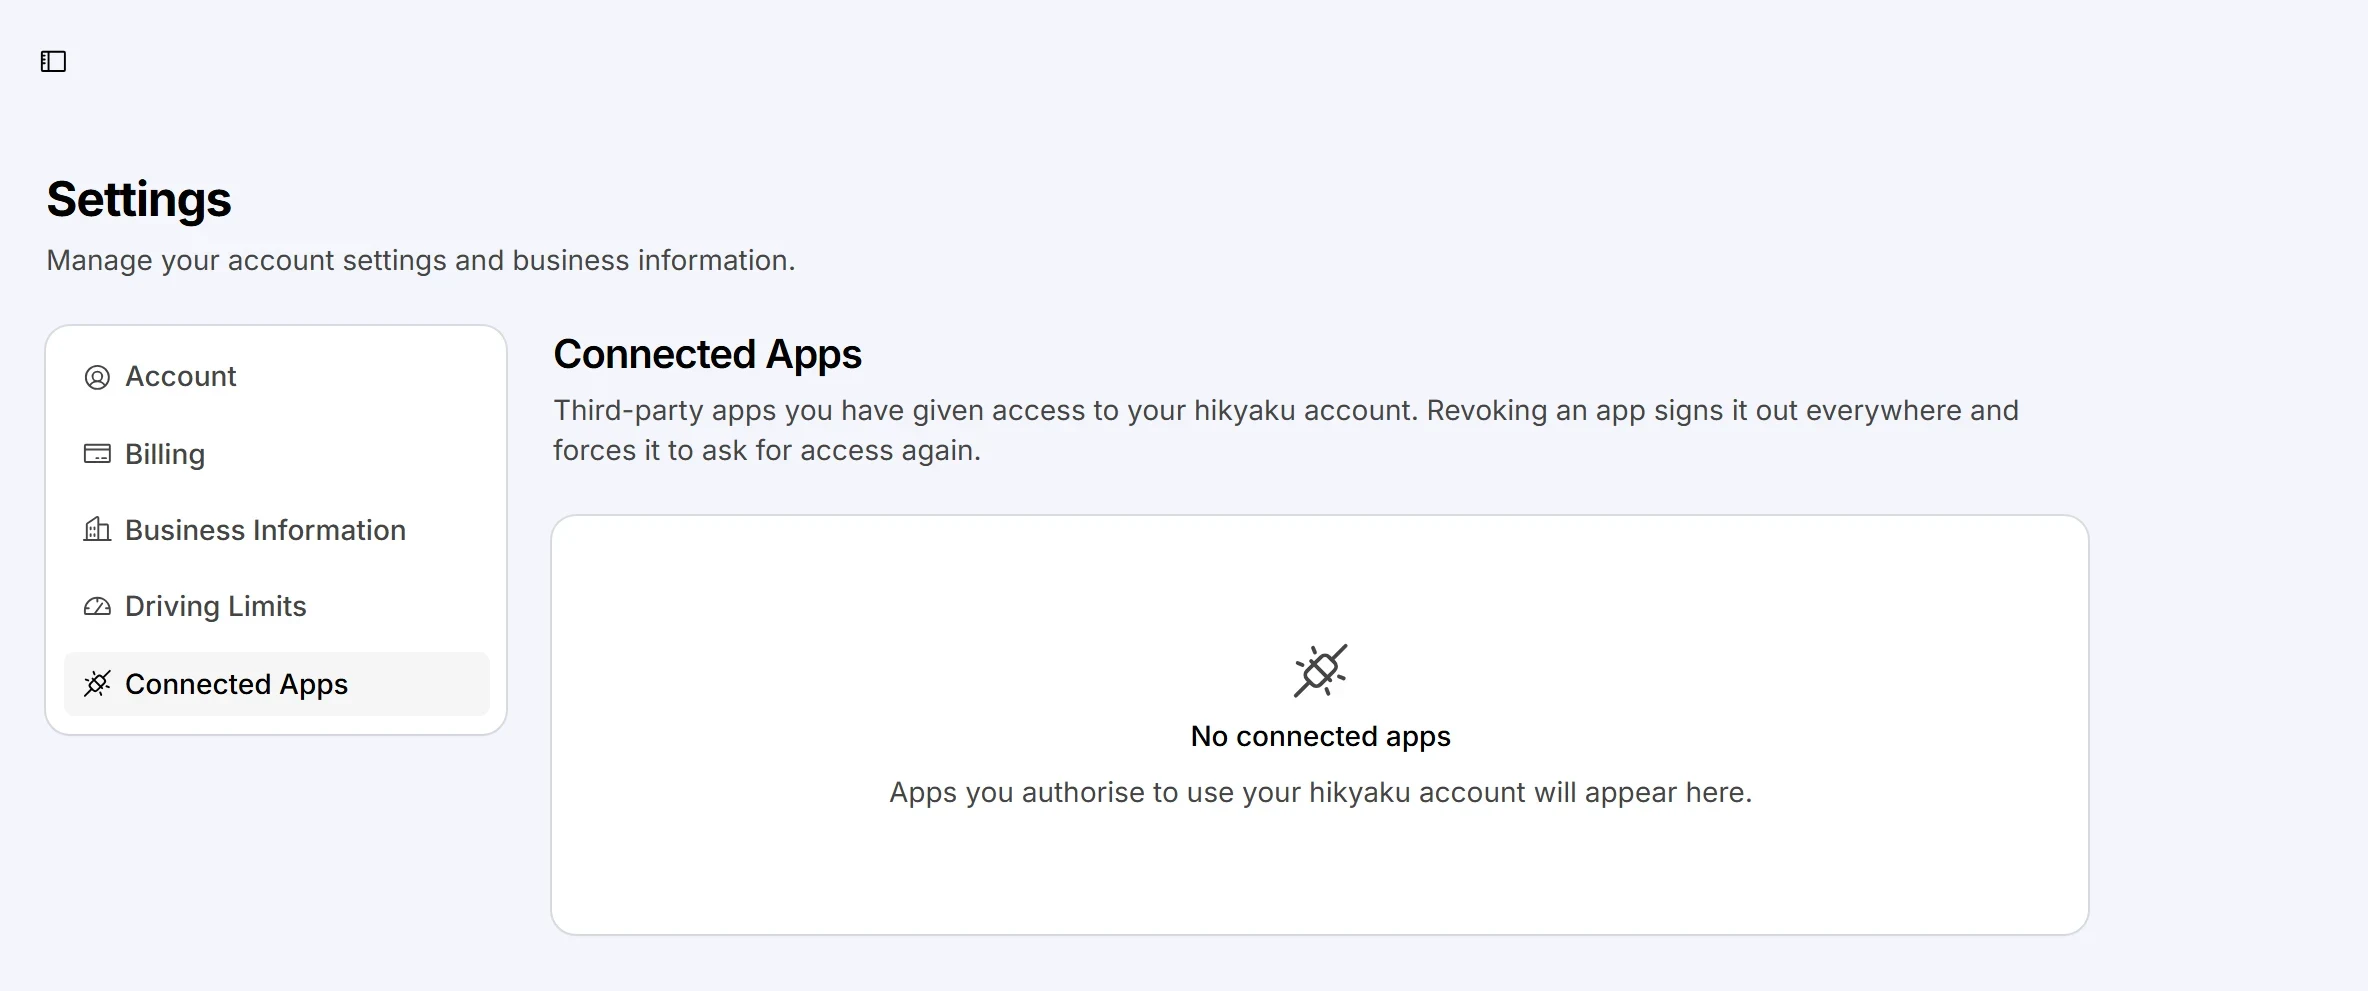
This tab shows the third-party apps that have access to your Hikyaku account, for example an n8n workflow. To remove access, click Revoke next to the app. The app then signs out on all devices and must ask for access again.
Fuel cards
When Stripe activates card issuing for your organisation, the sidebar shows Fleet → Fuel Cards. On this page you can issue a virtual fuel card to a driver.
- Click Issue card.
- Select the Driver. Optional: select a Vehicle.
- Select the Currency.
- Optional: type a Spend limit and select the Limit interval.
- Issue the card.
The Transactions tab shows each purchase with each card.
Service rates
When payments are set up, the sidebar shows Service → Service Rates. On this page you make the services and add-ons that customers select when they book a delivery. Each service has a unit price. Click New Service to add a service.